When creating a workflow, you may wish to develop it further using a rule. Implementing a rule or two gives you the ability to tailor a workflow to your store and marketing strategies. Each rule comes with comparison statements such as is, matches any, is less than and is greater than which you can pair with the value of each rule. This gives you unique tools to create powerful logic that would usually require the skills of a developer to create.
You may have already discovered that the trigger you select dictates which actions you can pair with it. This is also true in the case of rules, as the trigger you choose will cause certain rules to become available. Since there are a wide range of rules to choose from, we’ve provided descriptions for each one to make life easier.
Combining rules
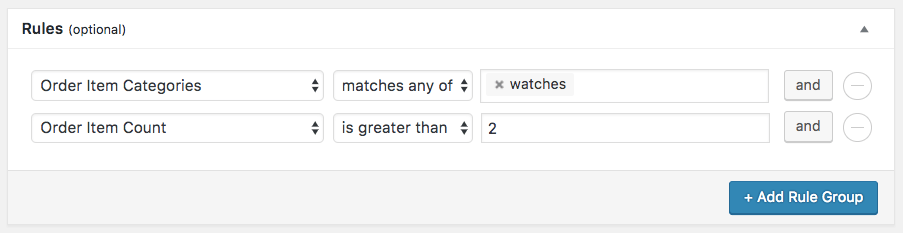
↑ Back to topYou can easily add multiple rules by clicking the and button at the end of each rule. This modifies the workflow so that after a trigger fires, all rules must be satisfied for the workflow to run. This tailors your workflow to more specific circumstances, for example when a customer buys from the watches category and has more than two items in their order.
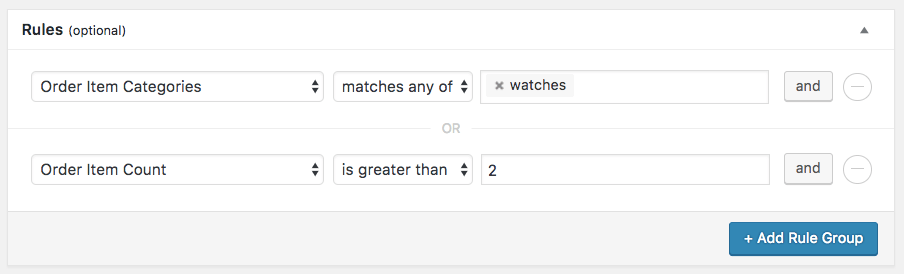
Alternatively, you can modify a workflow so that it runs if only one of your rules is satisfied. This is done simply by adding a new rule group. In this example, the workflow will run if a customer buys an item from the watches category or has more than two items in their order.
Validation on queued workflows
↑ Back to topIf you set any kind of delay to a workflow, the rules on that workflow will be validated twice. Firstly when the workflow is initially triggered and then again just before the workflow is scheduled to run. If the rules are not validated at this point the queued item will be deleted instead of running.
Quick tips
↑ Back to topNow that you’ve been introduced to the powerful capabilities of rules, it can be tempting to use them in every workflow in many exciting combinations. Please be careful about the different rules you set up, as certain rules can trigger hundreds of emails to be sent from a single workflow. Alternatively, if a workflow hinges on a certain rule with too narrow a spectrum, you may find yourself wondering why that particular workflow never runs. Here are some Do’s and Don’ts to watch out for.
DO’s
↑ Back to top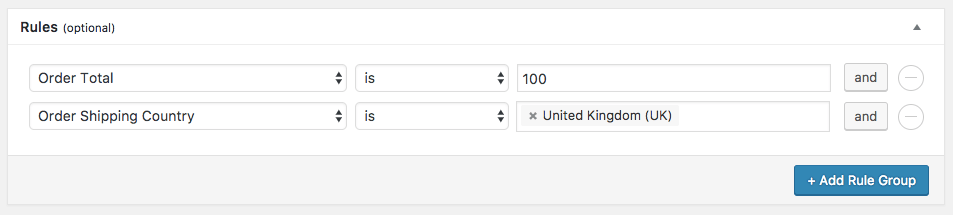
Do include rules which help your workflows target high spenders. You can include a shipping country if you offer free shipping to that country for a limited time.
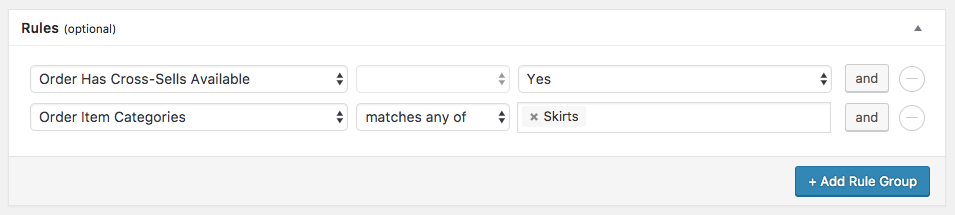
Do use a combination of rules to target customers purchasing from a certain category and then offer them cross-sells.
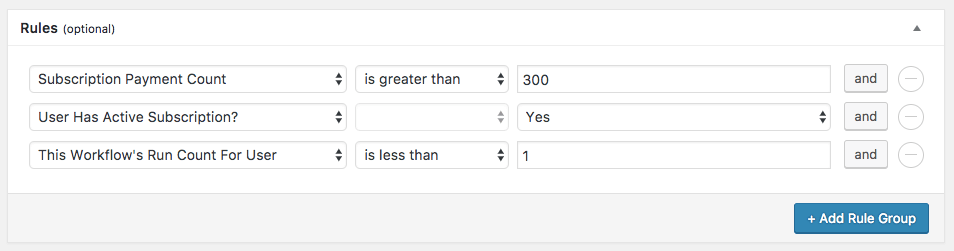
Do target high spenders who still have active subscriptions to single them out for rewards. Specify that “this workflow’s run count for user” shall be “less than 1” so that the workflow only runs once for each subscriber.
DONT’s
↑ Back to top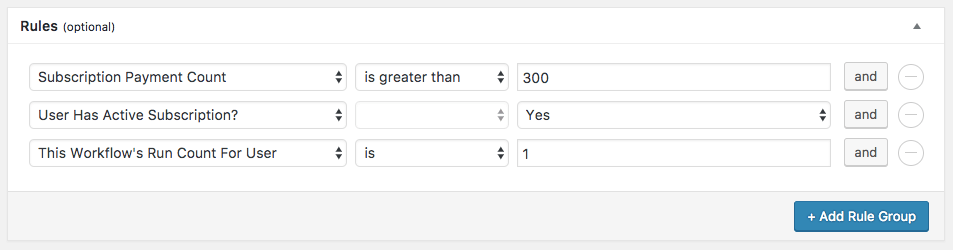
Don’t set a workflow run count to 1. This means the workflow will check if it has run in the past before allowing it to run for the first time. Since this is impossible, the workflow will never run. To be safe, use a comparison statement instead such as “is less than” and “1”. This way, the workflow will stop once it has reach a run count of 1 for each user.
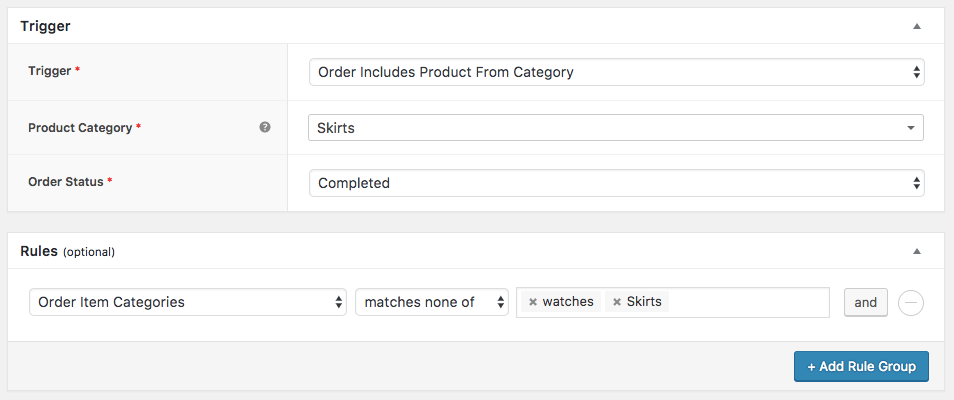
Don’t create a workflow which triggers for a product from a certain category but then include a rule which blocks orders with that category. This workflow will never run.

Don’t spam your customers by creating a workflow which fires for almost every single one of them. Repeatedly.
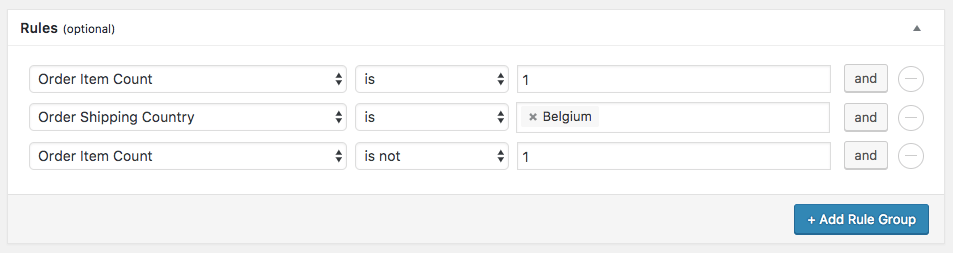
Don’t use impossible logic. You can’t have an order which has both 1 and not 1 item in it!
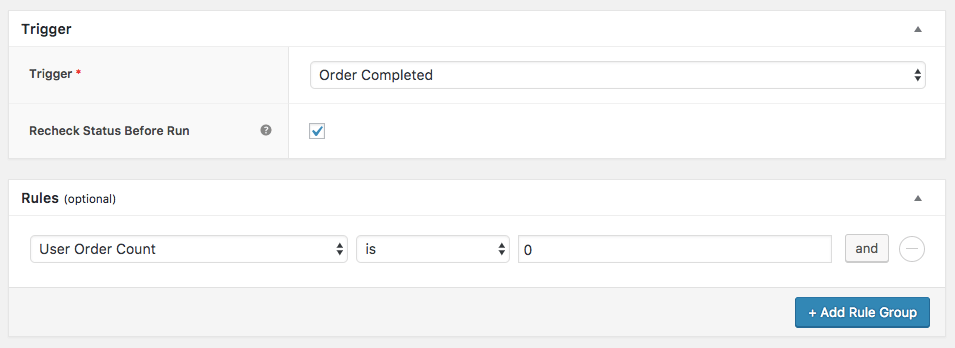
Don’t set a trigger which fires for a completed order and then include a rule restricting it to users who have never placed an order. A completed order will immediately register as a user order count of 1.
