Changing the appearance of links offers many advantages. Changing a link into button can make emails appear more professional or help draw attention to a specific action customers can take. This article will outline how you can update the appearance of links in emails generated by AutomateWoo.
The methods available are: using images, using CSS classes, and using inline CSS.
The following methods will not work with the Send Email – Plain Text action.
Using images
↑ Back to top- Create or edit a workflow that uses the Send Email action.
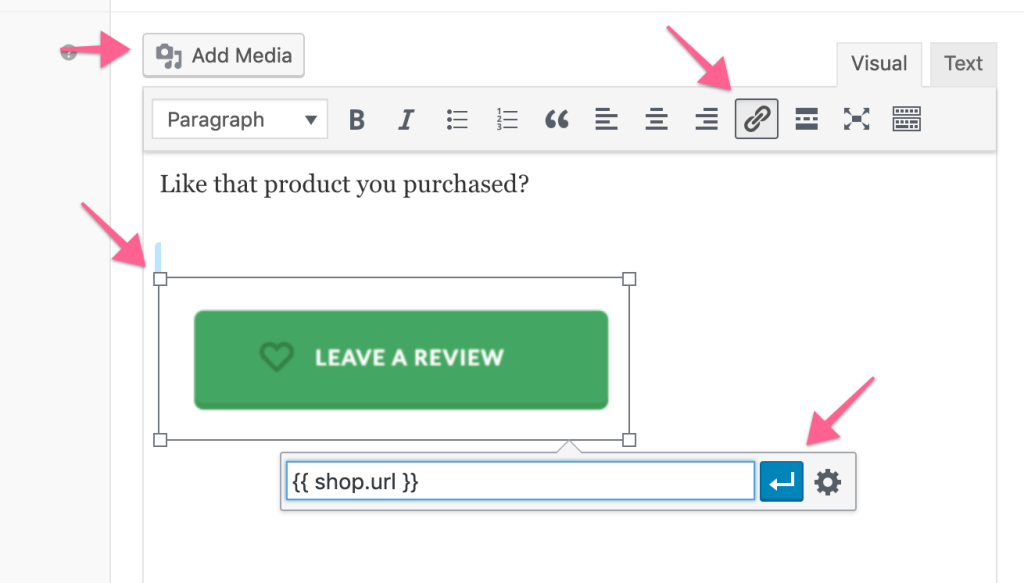
- Click the Add Media button and select the image you’d like to use as a button.
- Highlight the image and then click the link button from the content editor menu.
- Enter the link for the button and click Apply.
Using CSS classes
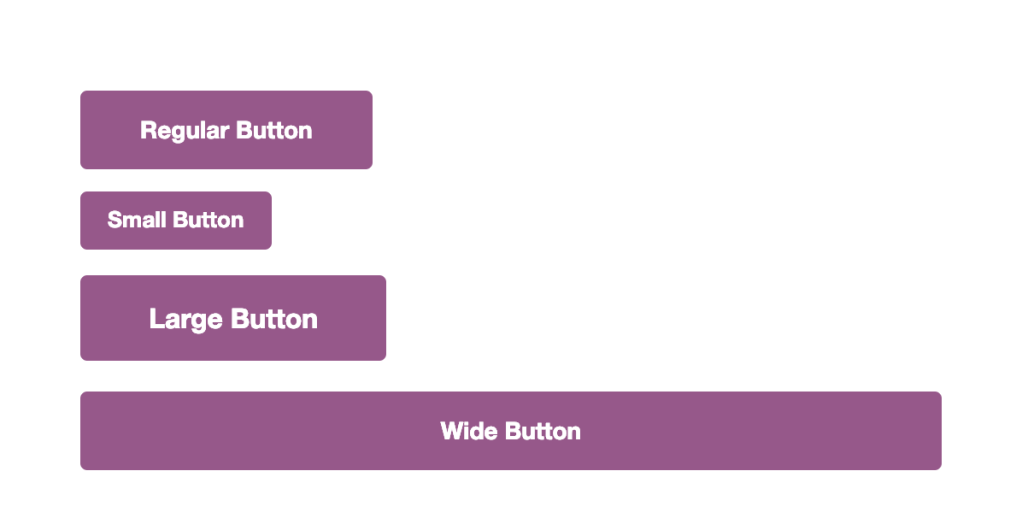
↑ Back to topBy default, AutomateWoo includes four helper classes specifically to make links into buttons in emails.
These classes are:
automatewoo-button: The base class for all buttons. This class will provide a starting foundation for the button based off the appearance settings of your site set in the storefront customizer. Include this class in all buttons.automatewoo-button--wide: Include this class to make a button span the full width of the message.automatewoo-button--small: Include this class to make a button slightly smaller than normal.automatewoo-button--large: Include this class to make a button slightly larger than normal.
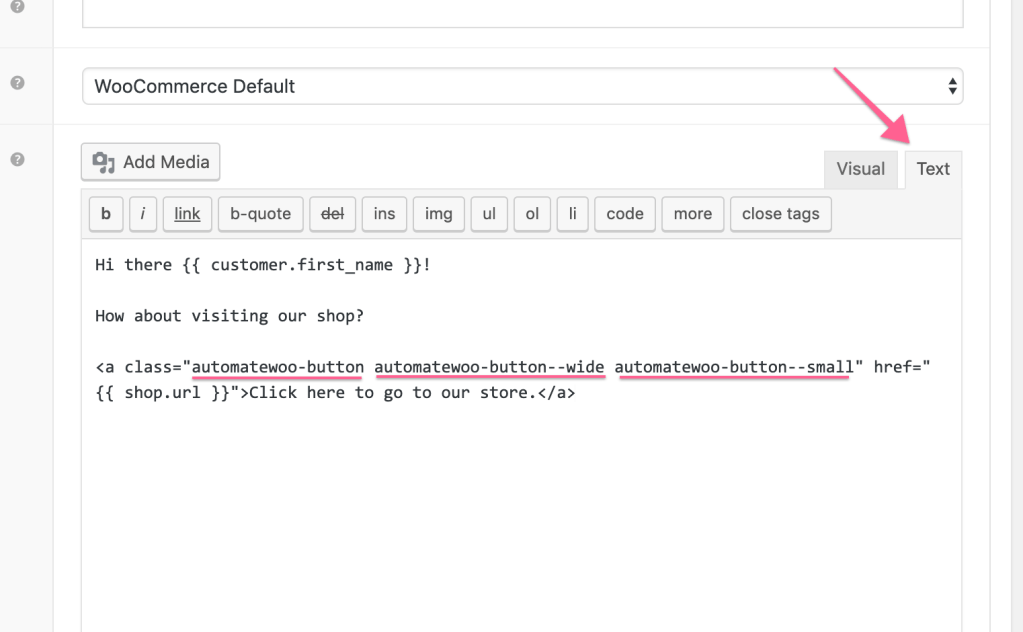
These classes can be used in any logical combination. For instance, including automatewoo-button, automatewoo-button--wide, and automatewoo-button--small will result in a small, wide button.
- Craft or edit the email’s content in a workflow that uses the Send Email action.
- Click on the Text tab. This will allow you to view the code of your email.
- Find the link that you want to make into a button. Within opening
<a>tag, includeclass="automatewoo-button".
If the class property already exists, add automatewoo-button before the closing quote. You can include additional classes inside
class="", just make sure each class is separated by a space.
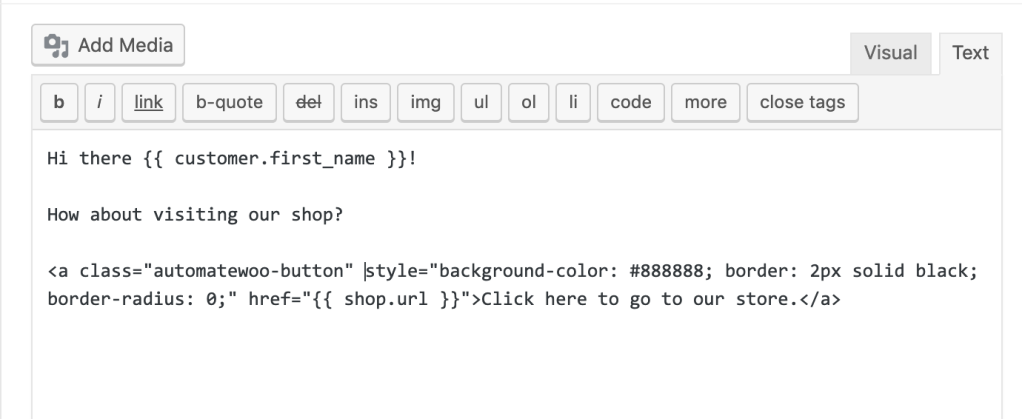
Using inline CSS
↑ Back to topNot satisfied with the look or feel set by the helper classes? You can use inline CSS to make adjustments however you see fit.
To accomplish this, include the base button class, automatewoo-button. Then, include the appropriate CSS selectors and properties inside style="" to make the desired changes.